Today's data center houses a vast array of storage, server and switching devices, all of which require a reliable, scalable and manageable cabling infrastructure. Well-planned pathways are critical to data center installation, specifically routing space for the cables between racks and cabinets.
Effective pathways ensure that the minimum bend radius and pulling tensions of cables are kept within the cable manufacturer's specifications both during and after the installation. Otherwise, damage to the fibres or performance degradation may occur.
To reinforce the requirement for properly executed pathways, there is an updated standard on the block this year: AS/NZS 3084:2017 "Telecommunications installations, telecommunications pathways and spaces for commercial buildings." The introduction of the new standard contemporises the design and planning of pathways well beyond its 2003 predecessor.
t also works as a complimentary document to key standards for testing including AS/NZS ISO/IEC 14763.2:2014, and installation in AS/CA S009. AS/NZS 3084:2017 is applicable to all cabling environments from LAN and campus through to data centers.
With this in mind, let's take a look at a couple of guidelines to follow during cable installation, which will help ensure success and save time in the post-installation phase of the project:
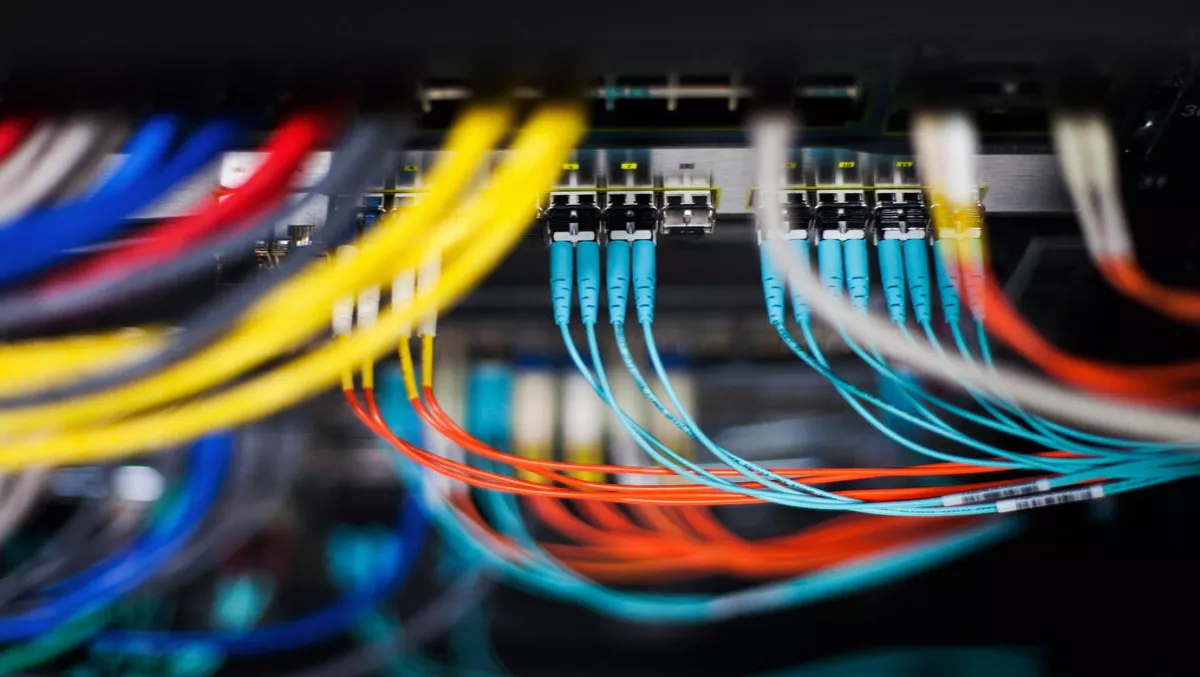
Ladder Rack – Perhaps the most common type of installation in a data center, a ladder rack is made of tubular steel, and it is a simple installation. A cable tray is a ladder rack with sides and may be steel, aluminum, or fibre glass – more robust than a ladder rack and requires more effort to install.
Transitions into the cable tray in elevation, direction, or from the tray to the equipment rack are typical areas where the designer should take the most care. The tray should be wide enough to accept the bend radius of the cable; if the cable is packed into a tray smaller than the minimum bend radius, macrobending could occur, resulting in increased loss that will be evident during testing.
Macrobend events will reduce the ultimate bandwidth of modern transmission protocols and even stop future transmission speeds from being achieved at all. Cables can be secured to the ladder rack using hook and loop fasteners or tie wraps, as long as they aren't so tight that they deform the jacket and cause increased attenuation.
Hook and loop is favoured as it minimises sharp-edged impingement on cable jackets. These impact performance and are re-configurable for addition cables at a future date. Designers need to consider bend-optimised or bend-insensitive fibre products to reduce macrobend events, especially as pathways become loaded.
It's best practice to separate fibre and copper cables into different trays. However, if both are being installed into the same tray, additional crush protection may be needed in the form of interlocking armour for the fibre optic cable. Per port, copper cables occupy the same physical space as compact 24 or even 48 fibre cables, easily dominating the loading of shared trays. Additionally, the copper cables will also have to be grounded properly according to local codes.
Conduit Installation – Two of the most overlooked conditions in conduit, or duct, installation are duct length and grip diameter. Verifying the duct path before ordering cables is essential in determining the cable length needed. If undocumented changes have been made to the path, the cables could be too short to reach the final destination. For any data center built between halls and buildings, penetrations and fire blocked transitions are equally important. Early planning for whole-of-life loading and re-access for growth is key to success.
If using preterminated cables, remember to consider the grip diameter. Most cables will be less than 10mm in diameter, but the grip itself will be in excess of 40mm to accommodate the connectors on the end of the cable.
The conduit should be sized to accommodate both the cables and the grip. If multiple cables are being pulled in at once, the fill ratio should be calculated using the cable outer diameter, the grip outer diameter and the conduit inner diameter. This will ensure all cables fit into the conduit appropriately. On top of this, the recommendation is to always use cables of the same weight and design.
Again, tension and bend radius are of utmost concern when installing cables into the conduit. With low cost preterminated cables, the cable will withstand more pull tension than the grip itself. However, over-tensioning the pulling grip could cause the grip to break inside of the conduit, causing additional time and expense to install the cable.
Look for vendors who offer integrated hauling grips where the full tensile load of the cable is transferred to the breakout point and into the hauling grip. Typically, 50kg hauling load can be expected with high spec trunks and assemblies. Sweeping 90 degree bends should be used around corners to allow for proper bend radius; sharp elbows should never be used in fibre optic conduit installations.
Regardless of which installation pathway is chosen, staying within the allowed cable bend radius and pulling tension will help ensure successful installation, attenuation testing and long-term reliability of the system. As AS/NZS 3084:2017 comes into play, applying these updated and valuable standards will ensure success the first time, every time.